Introduction
Lighting is an essential part of any home décor. The right lighting can create a warm and inviting atmosphere, while the wrong lighting can make a space feel cold and uninviting. Lampshades play a crucial role in the overall look of a lamp and, therefore, the room. In this article, we will guide you through the process of creating your own cane lampshade. Cane lampshades are stylish, affordable, and eco-friendly. They add a touch of natural elegance to any room and are easy to make at home.
Materials Required
Before we begin, let’s take a look at the materials you will need for this DIY project:
- Cane webbing (available at any DIY store)
- Wire lampshade frame (available at any DIY store)
- Scissors
- Glue gun
- Measuring tape
- Pencil
- Ruler
- Cloth
Step-by-Step Instructions
Now that we have all our materials let’s get started with the step-by-step instructions to create our own cane lampshade.
Step 1: Measure the Lampshade Frame
The first step is to measure the size of the wire lampshade frame. Use a measuring tape to measure the width and height of the frame. Write down the measurements as you will need them later.
Step 2: Prepare the Cane Webbing
Now, it’s time to prepare the cane webbing. First, unroll the cane webbing and measure it against the lampshade frame. Use scissors to trim the webbing to the required size. Then, use a cloth to wipe off any dust or debris on the cane webbing.
Step 3: Glue the Cane Webbing to the Lampshade Frame
Using a glue gun, apply glue to the top rim of the lampshade frame. Then, carefully press the cane webbing onto the frame. Repeat this process until the entire frame is covered with cane webbing.
Step 4: Cut Out the Excess Cane Webbing
Once the entire frame is covered with cane webbing, use scissors to trim any excess webbing. Cut off the excess from the top and bottom of the frame.
Step 5: Secure the Cane Webbing to the Lampshade Frame
Now, it’s time to secure the cane webbing to the lampshade frame. Using a glue gun, apply glue to the rim of the frame and press the cane webbing against it. Repeat this process until the entire cane webbing is secured in place.
Step 6: Allow the Glue to Dry
Once the cane webbing is secured to the lampshade frame, allow the glue to dry completely. This will take a few hours.
Step 7: Attach the Lampshade to the Lamp
Finally, it’s time to attach the lampshade to the lamp. Just place the lampshade over the light bulb and adjust it as required.

More Posts
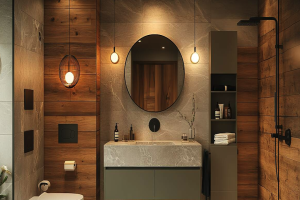
Upgrade Your Bathroom with a Stylish Vanity Ceiling Light
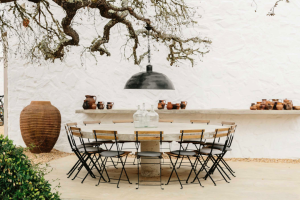
Enhance Your Outdoor Space with a Covered Patio Pendant
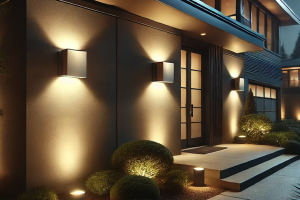
Illuminate Your Modern Backyard with Industrial Outdoor Wall Lamps