When embarking on any electrical project, safety should always be the foremost consideration. The risks associated with working with electricity can be severe, including electric shock, fire hazards, and even fatal accidents. Therefore, it is imperative to equip oneself with the knowledge of safety precautions before proceeding with any installation.
First and foremost, wearing appropriate personal protective equipment (PPE) is essential. This includes safety goggles to protect your eyes from debris, gloves to prevent electrical shock, and non-slip footwear to ensure stability while working. In addition to personal safety gear, it is crucial to familiarize oneself with the specific risks associated with the task at hand.
For instance, understanding the layout of the electrical system in your home can help identify potential hazards. It is advisable to have a first aid kit readily available in case of minor injuries. Furthermore, keeping a fire extinguisher nearby is a prudent measure, as electrical fires can ignite unexpectedly.
Lastly, ensuring that children and pets are kept at a safe distance from the work area can prevent accidents and distractions that could lead to injury.
Gathering the Necessary Tools and Materials
Before diving into the installation process, it is essential to gather all necessary tools and materials. Having everything on hand not only streamlines the project but also minimizes the risk of accidents that can occur when searching for tools mid-task. Common tools required for light fixture installation include a screwdriver set, wire strippers, a voltage tester, and a drill.
Each tool serves a specific purpose; for example, wire strippers are crucial for preparing electrical wires for connection, while a voltage tester ensures that no live wires are present before beginning work. In addition to tools, the materials needed for the installation must also be collected. This typically includes the light fixture itself, mounting brackets, screws, and electrical wire connectors.
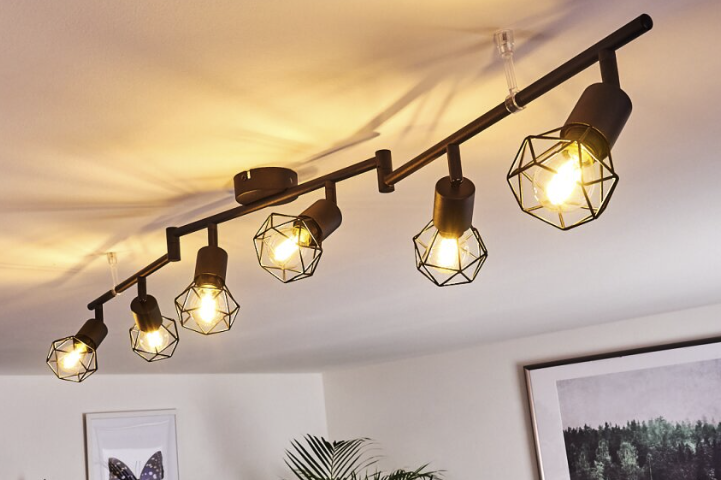
Depending on the type of light fixture being installed—be it a ceiling light Nanolamps, wall sconce, or pendant light—specific mounting hardware may be required. It is advisable to read the manufacturer’s instructions carefully to ensure that all necessary components are accounted for. By preparing thoroughly in advance, you can avoid interruptions during the installation process and maintain focus on the task at hand.
Turning Off the Power
One of the most critical steps in any electrical installation is turning off the power supply to the area where work will be conducted. This action is non-negotiable; neglecting to do so can lead to severe injuries or even fatalities. To turn off the power safely, locate your home’s circuit breaker panel.
Each breaker is typically labeled according to the area it controls. Once you identify the correct breaker for the room where you will be working, switch it off completely. It is advisable to double-check that the power is indeed off by using a voltage tester on the existing light fixture or outlet.
After turning off the power at the circuit breaker, it is wise to take additional precautions to prevent accidental reactivation. A simple yet effective method is to place a piece of tape over the breaker switch or use a lockout/tagout device if available. This ensures that no one inadvertently turns the power back on while you are working.
Additionally, informing other household members about your project can help prevent any surprises that could lead to dangerous situations. Taking these steps not only protects you but also fosters a safer working environment.
Installing the Mounting Bracket
With safety measures in place and power turned off, you can now proceed to install the mounting bracket for your new light fixture. The mounting bracket serves as a secure base for attaching the fixture and must be installed correctly to ensure stability and safety. Begin by removing any existing light fixture or hardware from the ceiling or wall where you plan to install the new fixture.
This may involve unscrewing screws or detaching wires from an old fixture. Once the old fixture is removed, examine the ceiling or wall for any signs of damage or wear that may need addressing before proceeding. Next, align the new mounting bracket with the electrical box in the ceiling or wall.
Most mounting brackets come with pre-drilled holes that correspond with standard electrical box configurations. Use screws provided with your new fixture to secure the bracket firmly in place. It is essential to ensure that the bracket is level; an uneven installation can lead to aesthetic issues and may affect how well the fixture operates.
Connecting the Wires
With the mounting bracket securely installed, you can now move on to connecting the wires of your new light fixture. This step requires careful attention to detail and adherence to color-coding conventions used in electrical wiring. Typically, you will encounter three types of wires: black (or red) for hot connections, white for neutral connections, and green or bare copper for ground connections.
Before making any connections, it is prudent to double-check that there is no voltage present using your voltage tester. Begin by stripping about half an inch of insulation from each wire using wire strippers. This exposes enough copper for a secure connection without risking damage to the wire itself.
Next, twist together corresponding wires: black to black (or red), white to white, and connect ground wires together as well. For added security and insulation, use wire connectors—these are small plastic caps that twist onto the connected wires to keep them secure and insulated from one another. After all connections are made, gently tuck the wires back into the electrical box while ensuring they do not become pinched or damaged.
Attaching the Light Fixture
The final step in your light fixture installation involves attaching the fixture itself to the mounted bracket and ensuring it is securely fastened. Begin by lifting the light fixture into position against the mounting bracket. Most fixtures will have a set of screws or clips designed specifically for this purpose.
Align these with their corresponding holes on the bracket and secure them tightly using a screwdriver. Once attached, it’s important to check that the fixture is stable and does not wobble or shift when gently tugged. If your fixture includes decorative elements such as shades or bulbs, install these according to the manufacturer’s instructions after securing the main body of the fixture.
Finally, restore power at the circuit breaker and test your new light fixture by flipping on the switch. Observing that everything functions correctly will provide a sense of accomplishment and ensure that your hard work has paid off. In summary, installing a light fixture involves several critical steps that prioritize safety and precision throughout the process.
From gathering tools and materials to ensuring proper wire connections and securely attaching the fixture itself, each phase plays an integral role in achieving a successful installation. By adhering to these guidelines and taking necessary precautions, you can enhance your living space with new lighting while ensuring safety and functionality.

More Posts
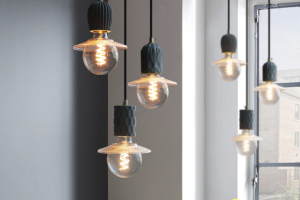
Vintage Industrial Bulb Chandelier for Loft Spaces
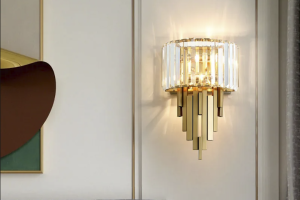
Enhance Your Space with a Luxe Crystal Wall Lamp
Enhance Your Study Space with a Retro Glass Cover Table Lamp